|
Installing Blackout KM for PATROL is an automated process managed by a wizard. The wizard goes through the necessary steps to install Blackout and all files associated with it. You are simply prompt for the product's folder location and the product/components to install. Browse to the bmc_products folder where the files have been extracted (both Blackout KM for PATROL and the Common Installer).
| • | On Windows: Launch the setup.exe program. |
| • | On UNIX: Launch the setup.sh script |
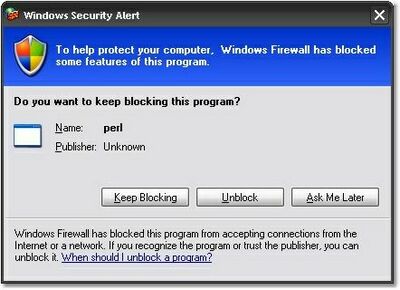
On the more recent versions of Windows XP and Windows 2003, you may get this security alert dialog: Windows detected that the BMC Software Installation Utility is listening on the 50001 port.
To install Hardware Blackout KM for PATROL
| 1. | Allow the perl.exe program listen on this port: Click Unblock. |
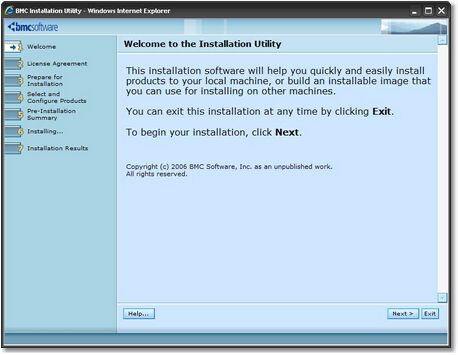
| 2. | The welcome screen of the installer appears. Click Next to continue. |
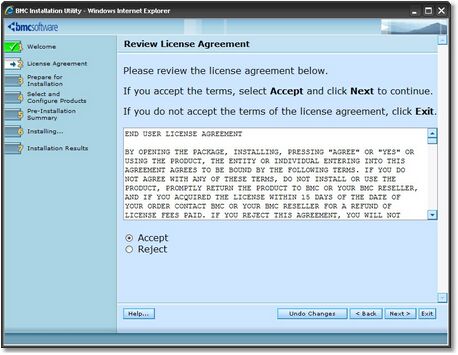
| 3. | Read the license agreement, click the Accept option and then click Next to continue. |
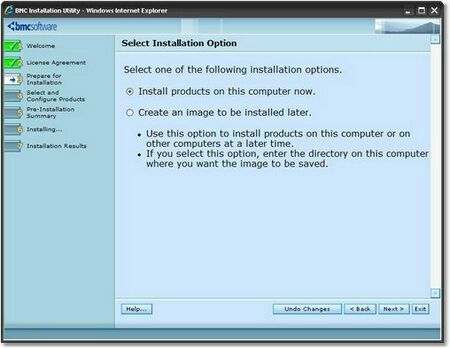
| 4 | Select Install the products on this computer now and click Next to continue. |
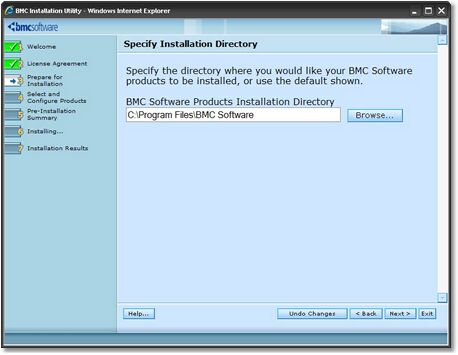
| 5. | Specify the BMC Software products folder. See the BMC Software documentation for more information about the BMC Software products folder. Click Next to continue. |
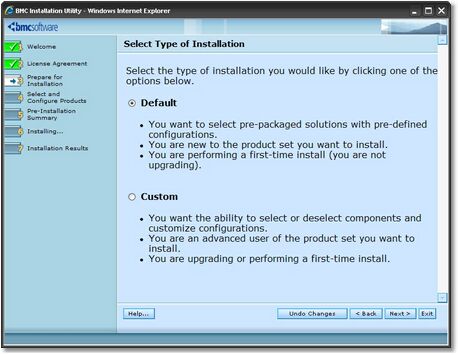
| 6. | Select Default. Installing Hardware Sentry does not require any customization. Click Next to continue. |
| 7. | Select Managed System to install Hardware Sentry on a PATROL Agent.
Select the Console Systems role to install Hardware Sentry on a PATROL Classic Console.
Select Common services to install Hardware Sentry on the Console Server or on PATROL Central – Web Edition.
Click Next to continue. |
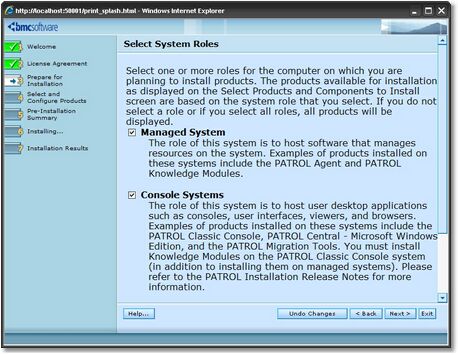
 | Select as many options at required. |
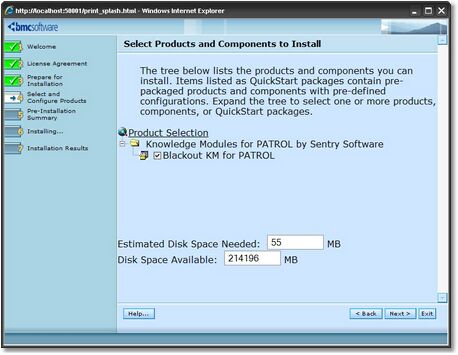
| 8. | Check the Hardware Sentry KM for PATROL box to install the KM (it should be selected by default). Click Next to continue. |
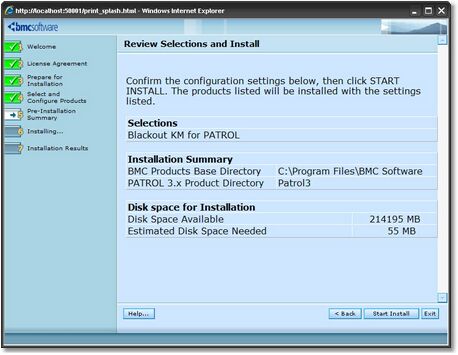
| 9. | Review the installation parameters and click Start Install to launch the installation procedure. |
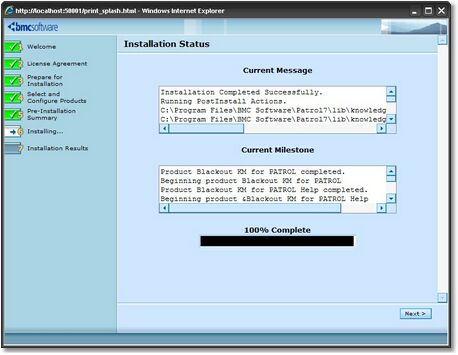
| 10. | The setup program displays the actions performed and indicated the percentage of completion. Once the installation complete, click Next the view the installation results. |
| 11. | The wizard displays the installation results.
Click View Log to display a detailed log of the installation procedure. Click Next and then Finish to exit the setup program. |
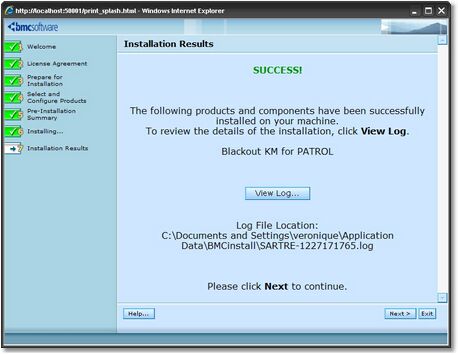
Installation Wizard - Step 11: Installation Results
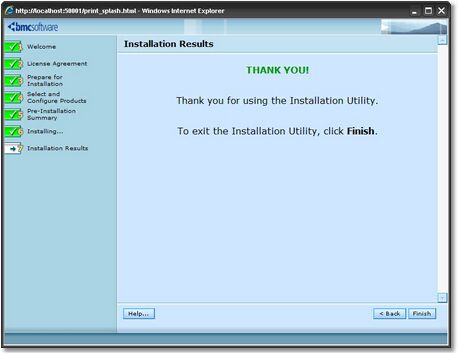
| 12. | Click the Finish button to complete and close the installation wizard. |
 | A Help button in available at each step of the procedure. Click to display the installation online help. The Exit button allows you to stop the installation procedure. |
| 

