|
The solution leverages the EMC SMI-S Provider for VNX (CLARiiON) and VMAX (Symmetrix) systems that needs to be installed on a Windows or Linux system. The following procedure explains in details how to get, install and configure EMC SMI-S Provider to enable EMC Disk Arrays KM for PATROL to efficiently interact with it.
 To monitor Symmetrix disk arrays it is strongly recommended using the SMI-S provider that is pre-installed in the Management Console. To monitor Symmetrix disk arrays it is strongly recommended using the SMI-S provider that is pre-installed in the Management Console.
1. Install the EMC SMI-S Provider
| 2. | Log in with the User ID and Password provided by EMC’s Online Support. If you do not have an account, you can register directly on EMC’s Online Support website. |
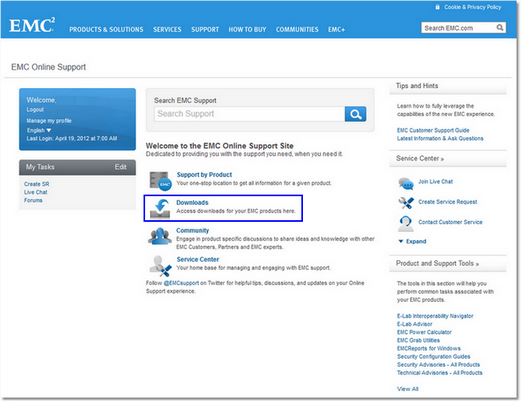
EMC Online Support - Welcome Page
| 4. | Type SMI-S Provider and click Enter. |
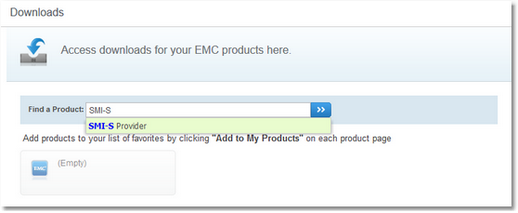
EMC Online Support - Downloads Page
| 5. | Download the SMI-S Provider executable file. It is recommended to download the x64 package of the version 4.6 available for your operating system. |
| 6. | Launch the executable file. |
| 7. | Select the items required by EMC Solutions Enabler with SMI and click Install. |
| 8. | The EMC Solutions Enabler with SMI X64 welcome page appears. Click Next to begin the installation. |
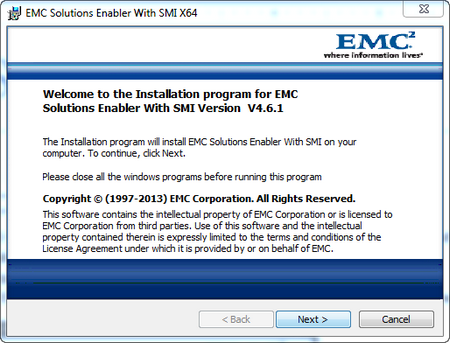
EMC Solutions Enabler with SMI X64 — Welcome Page
| 9. | Select an install directory for EMC Solutions Enabler and click Next to continue. Please note that it is recommended that you choose the default directory. |
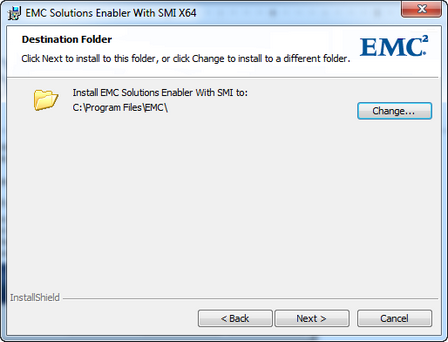
EMC Solutions Enabler with SMI X64 — Destination Folder
| 10. | Select both Array Provider and Host Provider and click Next to continue. |
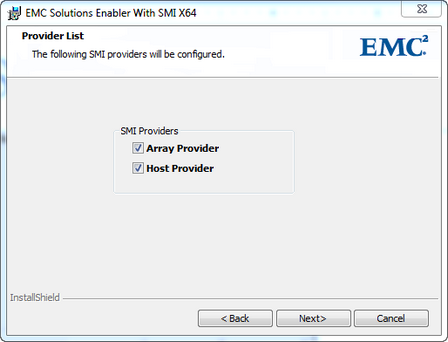
EMC Solutions Enabler with SMI X64 - Provider List
| 11. | In the Service List dialog box, click Next. |

EMC Solutions Enabler with SMI X64- Service List
| 12. | Click Install to begin installing files to your selected folder. |
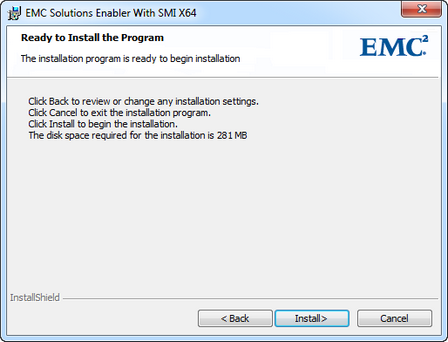
EMC Solutions Enable with SMI X64 — Start Installation
| 13. | When the Installation Wizard Complete dialog box opens, click Finish to complete the setup. |
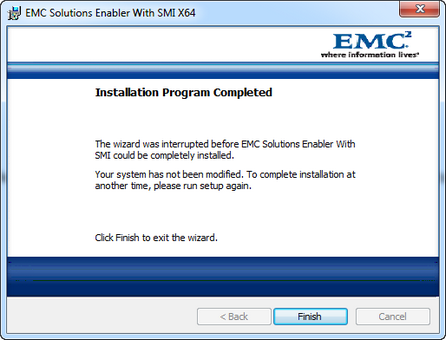
EMC Solutions Enable with SMI X64 — Installation Program Complete
| 14. | When the installation procedure is complete, update your environment variable for path to include the EMCSolutions Enabler installation directory, which by default is C:\Program Files\EMC\SYMCLI\bin, in order to run the command line utilities from any directory. |
2. Add CLARiiON/VNX Disk Array to the Installed SMI-S Provider
| 1. | Navigate to C:\Program Files\EMC\SYMCLI\storbin and run TestSmiProvider.exe. |
| 2. | For connection type, type ssl |
| 4. | Repeat the operation for Port, Username, Password, Log output to console, Log output to file, and Logfile path: |
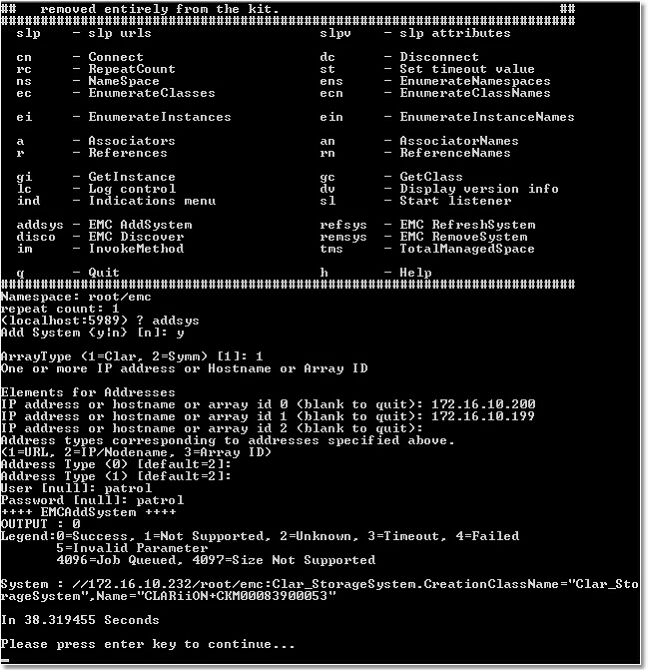
| 5. | Type addsys
type y (yes)
type 1 (Default for CLARiiON/VNX)
type xxx.xxx.xxx.xxx (SPA IP Address of the CLARiiON/VNX array)
type xxx.xxx.xxx.xxx (SPB IP Address of the CLARiiON/VNX Array) |
type enter
type 2
type 2
type the username (type a user that has at least a read access on the CLARiiON/VNX Array)
type the password (password of the above user)
then type enter
| 5. | A message meaning that the CLARiiON/VNX Array has been added is displayed as shown on the picture below |
3. Add a User to SMI-S provider
| 2. | Log in using the username admin and #1Password as password. |
| 3. | Click Add User and create a user with the role of Administrator. This newly created username can now be used to obtain access to the Array Provider. |
4. Add authorization information
| 1. | Shut down the EMC CIM Server (The service name is ECOM.exe and it displays as ECOM in the Services control panel.) |
| 2. | Use the SYMCLI symcfg command, as shown in the following syntax example, to add the username and password for each CLARiiON storage processor: symcfg authorization add -host HostName -username UserName -password PassWord |
| 3. | Add authorization for CLARiiON storage processor A with IP address <ip1>, username clariion and password clarpass, using the following command: symcfg auth add -host 172.23.193.86 -username clariion -password clarpass |
| 4. | Then, repeat the operation with CLARiiON storage processor B
You must list the information for storage processor A first, then storage processor B. Any time a locally-attached CLARiiON is added to the EMC SMI-S Provider, the EMC CIM Server must first be shut down. Once shut down, the authorization information can be added as described previously and the EMC CIM Server must be restarted. |
 The time set on the SMI-S Provider may differ from the time of the PATROL Agent. To ensure an accurate time information, it is recommended to synchronize the SMI-S Provider time with the time set on the PATROL Agent. The time set on the SMI-S Provider may differ from the time of the PATROL Agent. To ensure an accurate time information, it is recommended to synchronize the SMI-S Provider time with the time set on the PATROL Agent.
|


