Installing the EMC SMI-S Provider (SAN Monitoring)


Installing the EMC SMI-S Provider (SAN Monitoring) |
|
|
The solution leverages the EMC SMI-S Provider for CLARiiON and Symmetrix systems that needs to be installed on a Windows or Linux system. The following procedure explains in details how to get, install and configure EMC SMI-S Provider to enable BMC Performance Manager Express for EMC Disk Arrays to efficiently interact with it.
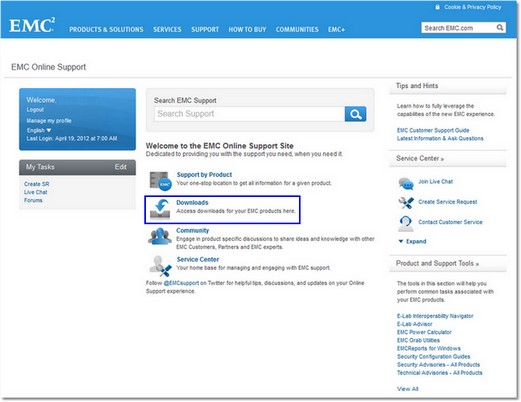
1. Install the EMC SMI-S Provider 1.Access the EMC’s Online Support website: http://support.emc.com. 2.Log in with the User ID and Password provided by EMC’s Online Support. If you do not have an account, you can register directly on EMC’s Online Support website. 3.Click Downloads.
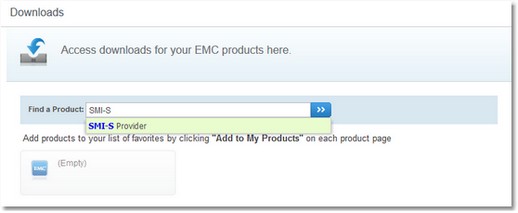
EMC Online Support - Welcome Page 4.Type SMI-S Provider and click Enter.
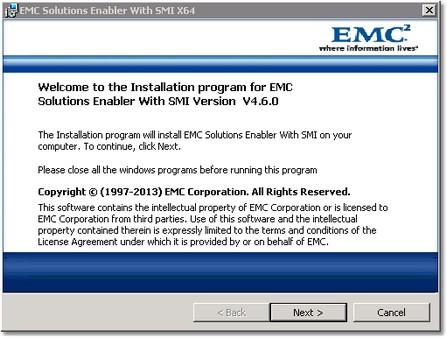
EMC Online Support - Downloads Page 5.Download the SMI-S Provider executable file. It is recommended to download the latest version of the x64 package available for your operating system. 6.Launch the executable file. 7.Select the items required by EMC Solutions Enabler with SMI and click Install. 8.The EMC Solutions Enabler with SMI X64 welcome page appears. Click Next to begin the installation.
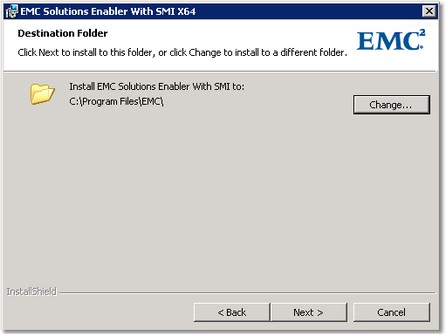
EMC Solutions Enabler with SMI X64 — Welcome Page 9.Select an install directory for EMC Solutions Enabler and click Next to continue. Please note that it is recommended that you choose the default directory.
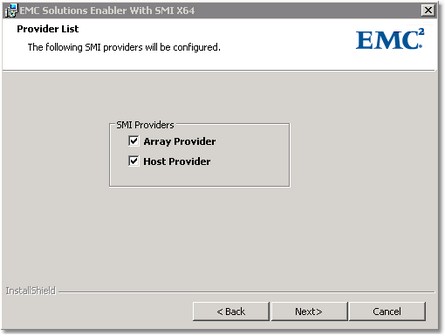
EMC Solutions Enabler with SMI X64 — Destination Folder 10.Select both Array Provider and Host Provider and click Next to continue.
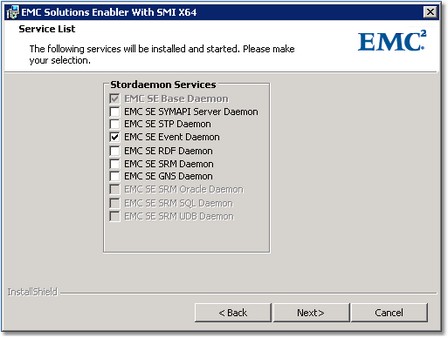
EMC Solutions Enabler with SMI X64 - Provider List 11.In the Service List dialog box, click Next.
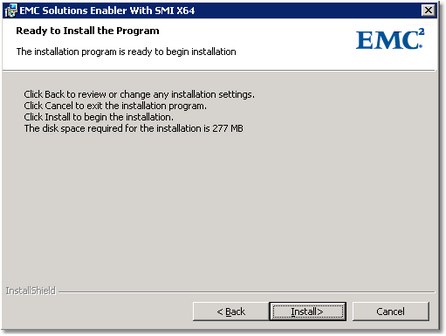
EMC Solutions Enabler with SMI X64- Service List 12.Click Install to begin installing files to your selected folder.
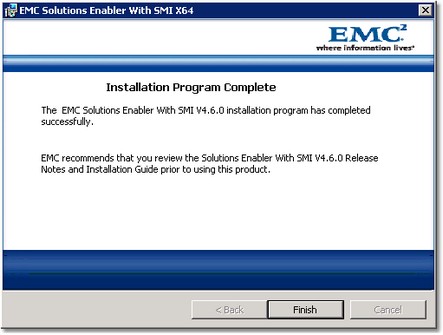
EMC Solutions Enable with SMI X64 — Start Installation 13.When the Installation Wizard Complete dialog box opens, click Finish to complete the setup.
EMC Solutions Enable with SMI X64 — Installation Program Complete 14.When the installation procedure is complete, update your environment variable for path to include the EMCSolutions Enabler installation directory, which by default is C:\Program Files\EMC\SYMCLI\bin, in order to run the command line utilities from any directory.
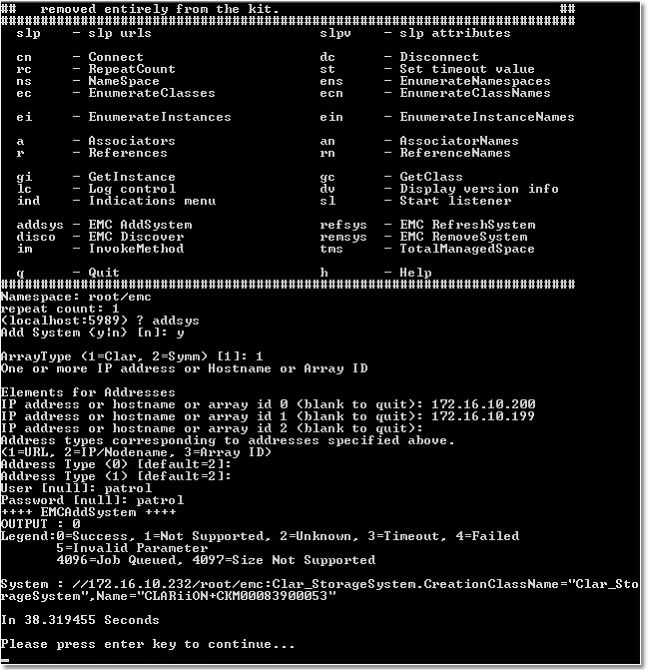
2. Add CLARiiON/VNX Disk Array to the Installed SMI-S Provider 1.Navigate to the C:\Program Files\EMC\SYMCLI\storbin and run TestSmiProvider.exe. 2.For connection type, type ssl 3.For Host, type enter 4.Repeat the operation for Port, Username, Password, Log output to console, Log output to file, and Logfile path: 5.Type addsys type enter then type enter 5.A message meaning that the CLARiiON/VNX Array has been added is displayed as shown on the picture below
3. Add a User to SMI-S provider
1.Access https://<ip-host>:5989/ecomconfig, where <ip-host> is either the IP address of the name of the SMI-S Provider host 2.Log in using the username admin and #1Password as password. 3.Click Add User and create a user with the role of Administrator. This newly created username can now be used to obtain access to the Array Provider. 4. Add authorization information 1.Shut down the EMC CIM Server (The service name is ECOM.exe and it displays as ECOM in the Services control panel.) 2.Use the SYMCLI symcfg command, as shown in the following syntax example, to add the username and password for each CLARiiON storage processor: >symcfg authorization add -host HostName -username UserName -password PassWord 3.Add authorization for CLARiiON storage processor A with IP address <ip1>, username clariion and password clarpass, using the following command: symcfg auth add -host 172.23.193.86 -username clariion -password clarpass 4.Then, repeat the operation with CLARiiON storage processor B 5.Start EMC CIM Server.
|