| 1. | Log into the Hitachi Command Suite Console: http://<IP_Address>:22015/DeviceManagerWebService/index.jsp |
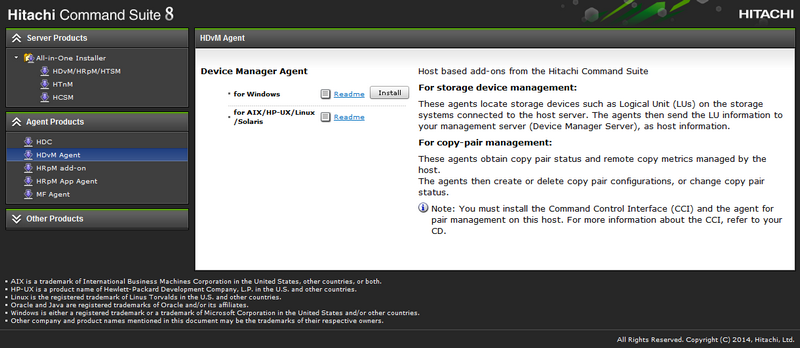
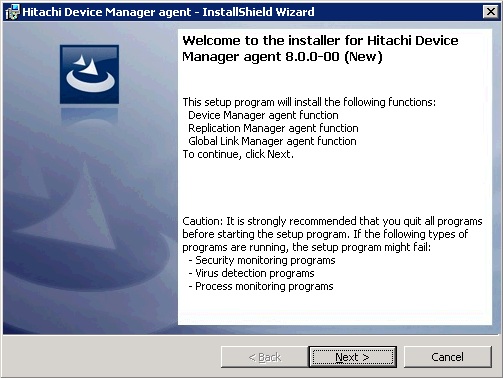
| 2. | Click Install to launch the Device Manager agent installer: |

| 4. | Select the I accept the terms of the License Agreement option and click Next |
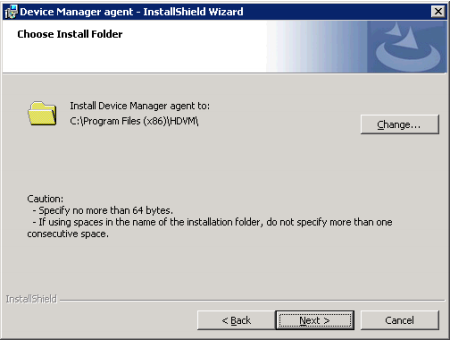
| 5. | Choose the install folder and click Next. A screen will appear to ask you permission to add a firewall exception even if your server’s firewall is not enabled: |
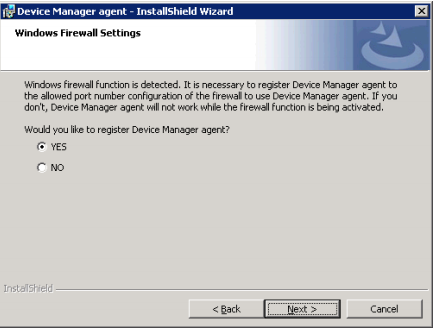
| 6. | Select YES and click Next. |
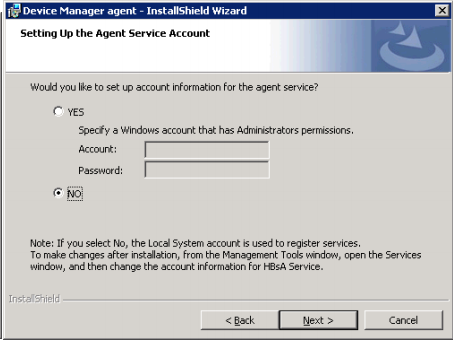
| 7. | Select the user account to be used for launching the agent service. Selecting NO will use the Local System Account (recommended). Click Next. |
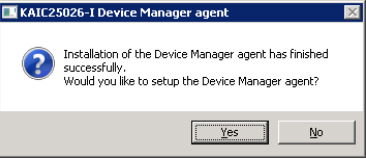
| 9. | When the installation is complete, click Yes to setup the Device Manager agent. The agent will then check connection to Device Manager (Hitachi’s Name for Command View Advanced Edition). |
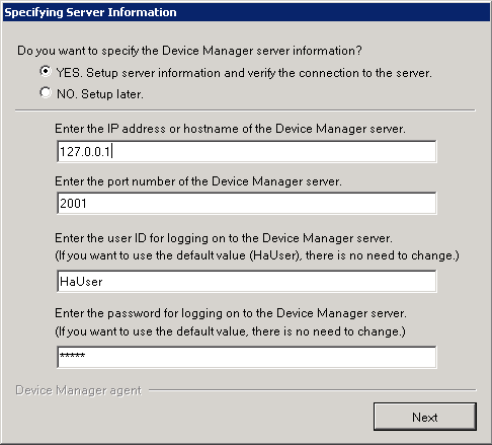
| 10. | Select YES to specify the Device Manager server Information, change the IP address to 127.0.0.1 and click Next. |
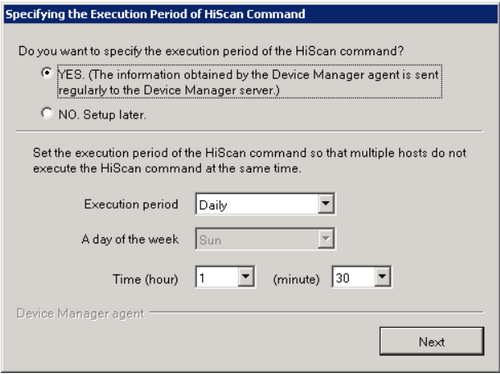
| 12. | Select YES to enable the Execution Period of the HiScan Command. Select pre-determined or random hour (do not use the default 2:30am) to prevent agent conflict. Click Next. |
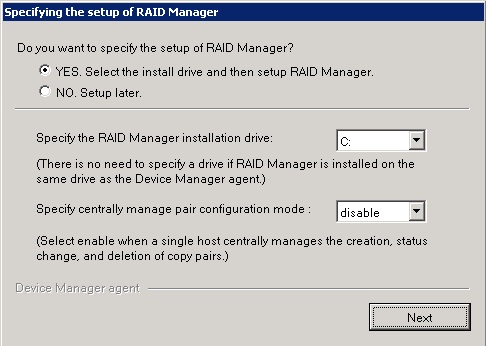
| 13. | Select NO in order not to set up the RAID Manager (it is not needed by Sentry / CVAE) and click Next. |
| 14. | A message "The Device Manager agent setup has completed successfully" appears. Click OK to finish the installation. |

|


