Adding the Hardware Application Class to an Existing Element


Adding the Hardware Application Class to an Existing Element |
|
|
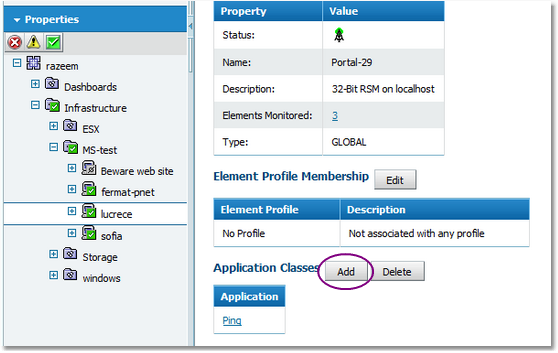
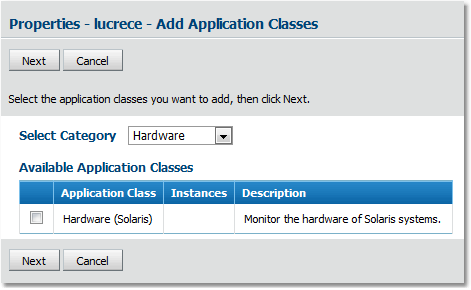
1.Log on to BMC Portal with administrator credentials. 2.In the Configure tab: Click the Element to which you wish to add the hardware solution and the Element Properties page appears. Scroll down to Application Classes > Add. Adding a Hardware Application Class 3.On the Properties – <Element> – Add Application Classes page > Select Category > Hardware. 4.In the Available Application Classes, the BPM Express for Hardware application class applicable to the element appears automatically. Select and click Next.
Hardware Application Class Properties 5.The Properties and Credentials page appears asking for the information required for monitoring for Hardware (<platform>). Enter the required information. ▪Click the link for information required to monitor Windows systems. ▪Click the link for information required to monitor AIX, HP-UX, Linux, Solaris and Tru64 systems. ▪Click the link for information required for monitoring “Other” platforms i.e. Blade chassis, management cards etc. 5.After entering the element properties and credentials, you arrive at the final step for adding the Hardware application class: Thresholds. 6.Thresholds are automatically set by BPM Express for Hardware. It is recommended that you leave the default thresholds as they are. Click Finish. Details on how to modify thresholds are given in the User Guide. 7.The message: “Success! Changed have been saved” appears and Hardware (<platform>) appears in list of Application Classes for the element. You can now return to the Status tab to view the monitoring of the element by BPM Express for Hardware. Related Topics |