Installing BMC Performance Manager Express for EMC Disk Arrays


Installing BMC Performance Manager Express for EMC Disk Arrays |
|
|
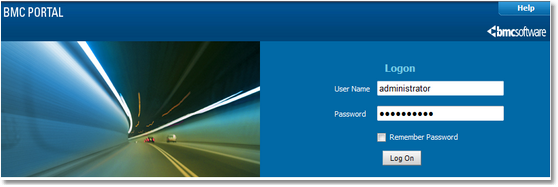
Uploading BMC Performance Manager Express for EMC Disk Arrays to BMC Portal1.Place the BPM-Express-EMC-DiskArrays-<version>.par file in a known location on your file system. Log in to the Portal with administration rights.
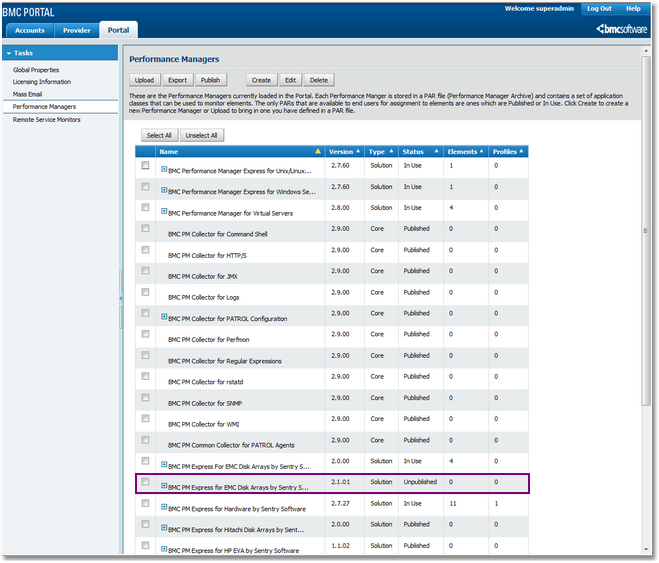
Logon to the BMC Portal 2.Click on Portal, then under Tasks click Performance Managers.
Selecting a Performance Manager 3.Click Upload and then click Browse to open a file selection dialog box. 4.Select BPM-Express-EMC-DiskArrays-<version>.par and click Upload. 5.The Portal uploads the PAR file to the database, and BPM Express EMC Disk Arrays now appears as BMC Performance Manager Express for EMC Disk Arrays by Sentry Software in the list of Performance Managers. 6.The word Published next to BMC Performance Manager Express for EMC Disk Arrays in the Performance Manager list indicates that the product is successfully installed. You are now ready to begin using BMC Performance Manager Express for EMC Disk Arrays. 7.In the Portal Configure tab, verify each monitored array's properties and thresholds values to make sure all the necessary settings are properly configured.
See Also
|