Parsing an XML Log File


Parsing an XML Log File |
|
|
Most technologies use log files to trace their operations and notify operators when failures occur. These log files contain crucial information about the hardware, software, or system problems that may arise in your IT environment. In this section, we will examine one of the many existing log file formats: the XML log file. The XML log file format makes the extraction of data way easier as this data is saved in a structured format: each log entry includes a date/time, the name of the logger, and many other useful elements. Monitoring Studio can help you parse any XML Log file to monitor its properties and get notified every time a severe issue occurs. Specifying the file to monitor
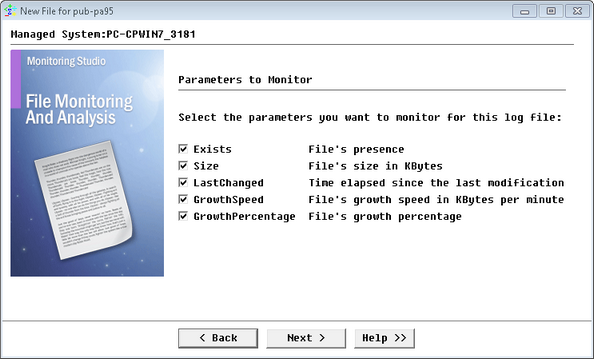
Selecting the Parameters to Monitor
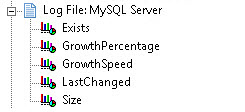
You have successfully setup the monitoring of an XML log file. The corresponding "MySQL Server" log file icon has now been created and is displayed in the PATROL console.
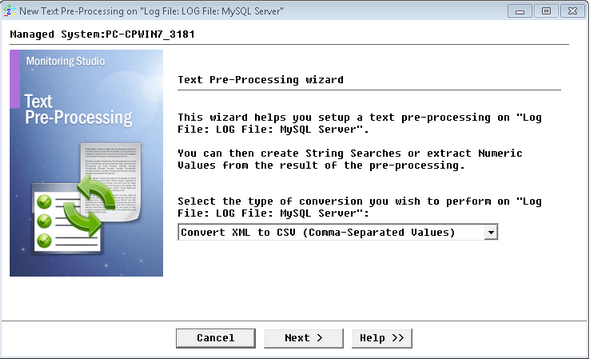
Specifying the file to monitor Now to parse this file, you need to pre-process the XML text (in order to later be able to run String Searches or perform Numeric Value Extraction on the result) and thus be notified when failures occur. Pre-processing the content of the file (converting XML to CSV)Since you are dealing with an XML output, the content needs to be processed to extract individual objects and their properties.
Selecting a Type of Conversion to Apply to a Log File In this example, the records in this XML Log file are provided in the following format:
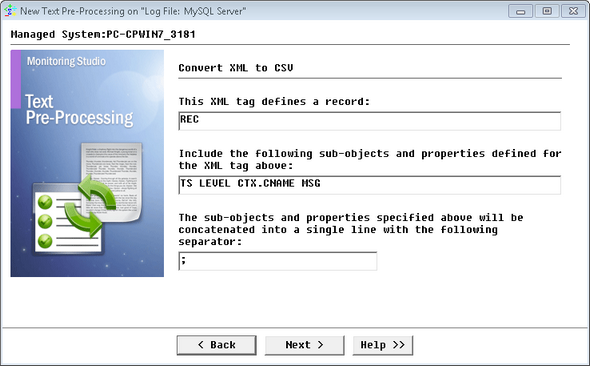
The XML tag identifying each new record is <REC>. Let’s say that you would like to retrieve the <TS> value, the <LEVEL> value, the <CNAME> value under <CTX> and the <MSG> value as they are likely to provide additional information when a problem occurs. Therefore, you need to specify that REC is the XML tag for a new record and that you want to include the value for the following properties and sub-tags:TS LEVEL CTX.CNAME MSG. Please note the syntax "CTX.CNAME" which means the value of CNAME under the CTX tag.
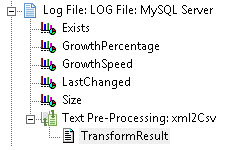
Defining the Conversion Parameters Then, you need to specify a label and an ID for the text pre-processing object that will be created under the Log File icon (xml2Csv, for example). As a result, a new icon representing the XML-to-CSV pre-processing (xml2Csv) is created and displayed in the Log File tree view of the PATROL Console:
Accessing the TransformResult File This object has a single TransformResult text parameter as a result of the XML to CSV pre-processing:
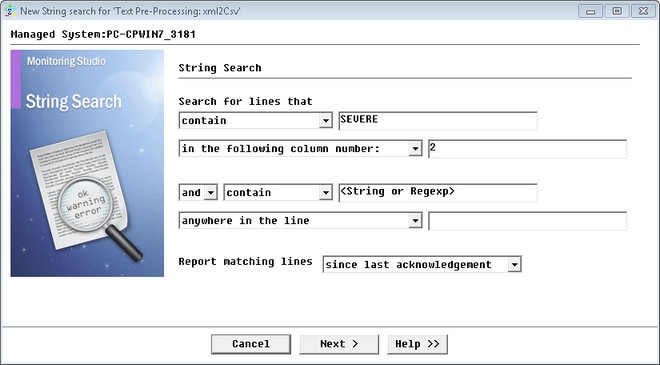
Searching for strings in the result of the XML-to-CSV pre-processingFrom this transformed ouput, you can now look for strings corresponding to a severe alert level. To do so, you need to create a specific String Search on the 'SEVERE' string. Every time this word is found in your LOG file, Monitoring Studio will detect it and report it through the MatchingLineCount parameter of the String Search monitor, this will let you know that a severe issue occurred and needs to be addressed.
Performing a String Search Command on a Converted File
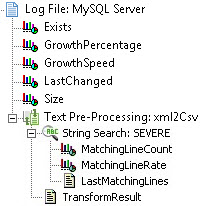
As a result, you get the following String search object: SEVERE under the XML-to-CSV pre-processing object:
Accessing the String Search Results
Monitoring Studio is now configured to parse your XML log file in order to detect potential severe issues. Go further in the monitoring of your XML log file by configuring Specific Alert Actions. |