|
The File Monitor is designed to monitor the presence, content, growth and change of a specific file. Therefore, the solution is able to instantly detect and alert when a critical file goes missing or if the file size is growing too fast, for example. It is one of the most important monitoring tools offered by TrueSight Operations Management - Monitoring Studio as a lot of technologies deal with files and many of them are critical. The most typical usage of file monitoring is parsing a log file. Most technologies use log files to trace their operations and notify operators when failures occur.
Selecting the right file type to monitor (flat or log) is essential to allow Monitoring Studio to read the monitored file correctly. Note that searching strings in flat or log files is also performed slightly differently, depending on the file type. Flat files are entirely updated and therefore need to be parsed entirely, as opposed to log files where new lines are appended at the end of the file - and hence only these new lines need to be analyzed.
 The following procedure applies to the monitoring of both Flat and Log files. The following procedure applies to the monitoring of both Flat and Log files.
To monitor a file (flat and log)
| 1. | Access the Monitoring Studio Configuration panel, as explained in the Configure Monitors chapter. |
| 2. | In the Monitors section, click the Files (Flat) or Files (Log) button. |
| 3. | Provide the Credentials required to establish a connection to the host. |
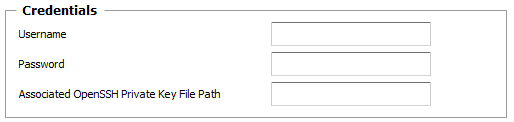
File (Flat or Log) — Credentials Settings
| ▪ | Username: Enter the username to use to establish the connection with the Host. Leave this field blank to use the username provided for the Host at the Monitor Group level. |
| ▪ | Password: Enter the password for the username provided above, to use to establish the connection with the Host. Leave this field blank to use the password provided for the Host at the Monitor Group level. |
| ▪ | Optional — Associated OpenSSH Private Key File Path: When monitoring remote hosts running UNIX, Linux or other types of operating systems that support SSH authentication key file, you may need to provide an OpenSSH private key file to establish a secured connection with the remote host. Enter the path of the OpenSSH private key file you wish to use to establish a connection with the remote host and enter the optional PassPhrase in the Password field. |
 The Private Key File should exists on the PATROL Agent node. The Private Key File should exists on the PATROL Agent node.
| 4. | Define the File Settings: |

File (Flat or Log) — File Settings
| ▪ | Filename (Full Path): Enter the path and name of the file you wish to monitor. You can use the ? wildcard to replace one character; the * wildcard to replace one or more characters or a date/time format to dynamically assign the current date or time in the file name. Simply insert the following string in the "Filename" field, where the date/time format appears, replacing the three dots by date format symbols: %{SEN_TIME:…}. For the complete list of format symbols, definitions and examples, please refer to the Format Symbols chapter. |
The filename full path supports environment variables (example: %PATROL_HOME%).
| 5. | Define the Monitor Settings: |
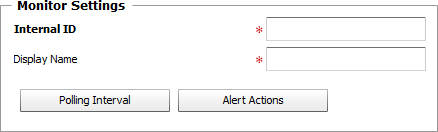
File (Flat or Log) — Monitor Settings
| ▪ | Internal ID: Enter an ID to identify the managed monitored file instance in BMC TrueSight Operations Management. |
| ▪ | Display Name: Enter a name to identify the managed monitored file instance in BMC TrueSight Operations Management. |
| ▪ | Optional — Polling Interval: Set the frequency at which the data collection will be performed. Default is 2 minutes. |
| ▪ | Optional — Alert Actions: Define the action(s) Monitoring Studio needs to perform when the thresholds for this managed file instance is breached. |
| 6. | Optional — Define the Content Processing rules you wish to apply to the monitored file output: |

File (Flat or Log) — Content Processing Settings
| ▪ | String Searches: Define the search criteria for a specific string you wish to find or not find in the monitored file output. |
The String Search for Flat and Log files is slightly different. Refer to the Searching for a Specific String chapter for detailed information.
| 7. | Click the Add to List button to complete the creation of File (Flat or Log) instance. |
| 

