-
Home
- PATROL
Install Veritas NetBackup KM
Follow this installation procedure to install Veritas NetBackup KM directly on the PATROL Agent or PATROL Console system. To install Veritas NetBackup KM from the TrueSight Console, refer to Install in TrueSight.
To be able to use Veritas NetBackup KM for PATROL, you will have to:
- Ensure that requirements are met
- Download the installation packages
- Install the KM
- Load the KM on the PATROL console(s).
Getting the Installation Packages
The Veritas NetBackup KM installation packages are designed for use with the BMC Software Installation Utility. They need to be merged with the latest available version of the BMC Software Installation Utility.
Getting the BMC Utility Package
The latest version of the BMC Software Installation utility is required to install Veritas NetBackup KM. It can be downloaded from the Sentry Software Web site.
Choose the appropriate package depending on the platform you plan to install Veritas NetBackup KM on:
- For UNIX/Linux systems:
ins_ALL_<version>.tar - For Windows systems:
ins_WINDOWS_<version>.zip
The packages are valid for all the PATROL components: Agent, Console, Console Server, etc.
Getting the Veritas NetBackup KM Packages
Two packages are available to download on the Sentry Software Web site. They can be used to install the KM on every PATROL component (Agent, Console, etc.) according to the platform you are using.
- For UNIX/Linux systems:
veritas-netbackup-<version>-thorium.tar - For Windows systems:
veritas-netbackup-<version>-thorium.zip
Getting the JRE Package
Java Runtime Environment version 1.8.00 or higher is required for the KM to operate properly.
A package with a suitable Java Runtime Environment, designed for use with the BMC Software Installation Utility, is available to download on the Sentry Software Web site.
You can optionally install this package along with the Veritas NetBackup KM package. The KM will be able to leverage either this instance of the Java Runtime Environment or another installed separately on the system.
Installing Veritas NetBackup KM
Like most Knowledge Modules for PATROL, you need to install Veritas NetBackup KM on the following components of your PATROL architecture:
- Every managed system with a PATROL Agent
- Every PATROL Console (Classic) that will show information and alerts
- The Console Server
- PATROL Central Web Edition
To install Veritas NetBackup KM
-
Extract the setup files:
-
On Windows:
- Unzip the BMC Installation Utility:
ins_WINDOWS_<version>.zip. - Unzip the
veritas-netbackup-<version>-thorium.zippackage in the same folder. - (Optional) If you need to install the latest Java Runtime Environment program, unzip the
adoptopenjre-windows-x64-<version>-thorium.zippackage in the same folder. The content of the packages merges into a subfolder named bmc_products. Windows may ask for your confirmation to overwrite files and folders. This is normal behavior and you can accept all overwrite confirmation requests.
- Unzip the BMC Installation Utility:
-
On UNIX/Linux:
- Untar the BMC Installation Utility:
tar xvf ins_ALL_<version>.tar. - Untar the Veritas NetBackup KM package named:
veritas-netbackup-<version>-thorium.tar. - (Optional) If you need to install the latest Java Runtime Environment program, unzip the
adoptopenjre-<platform>-<version>-thorium.tarpackage.
- Untar the BMC Installation Utility:
-
-
Navigate to the bmc_products folder where the files have been extracted
-
Launch the
setup.exeprogram (Windows) orsetup.shscript (UNIX/Linux) -
The welcome screen of the installer appears. Click Next to continue

-
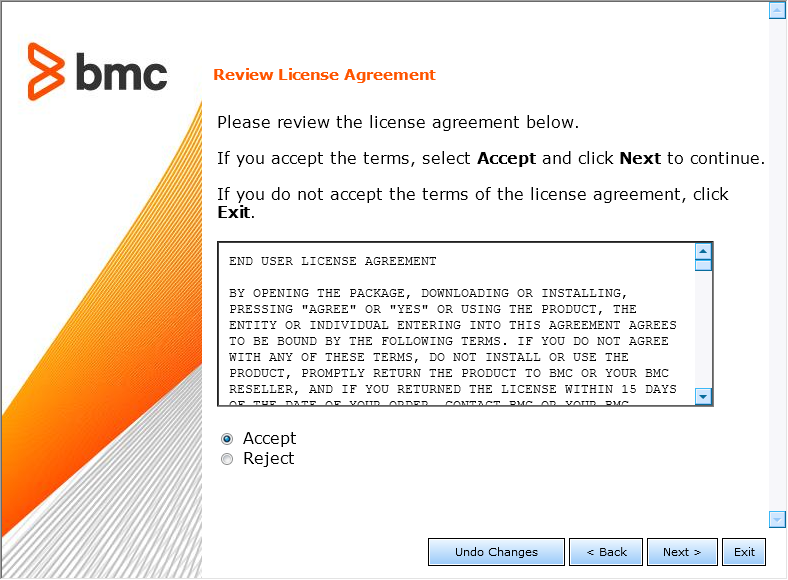
Read the license agreement, click the Accept option and then click Next to continue
-
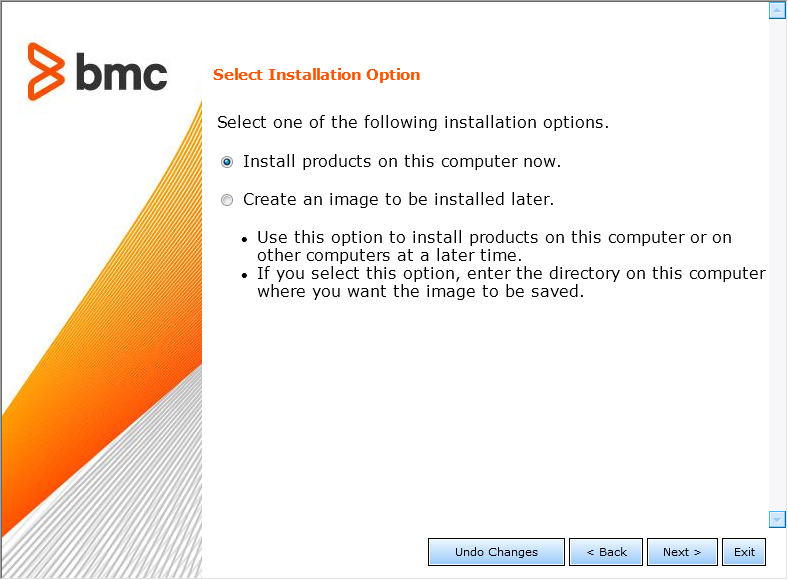
Select Install products on this computer now and click Next to continue
-
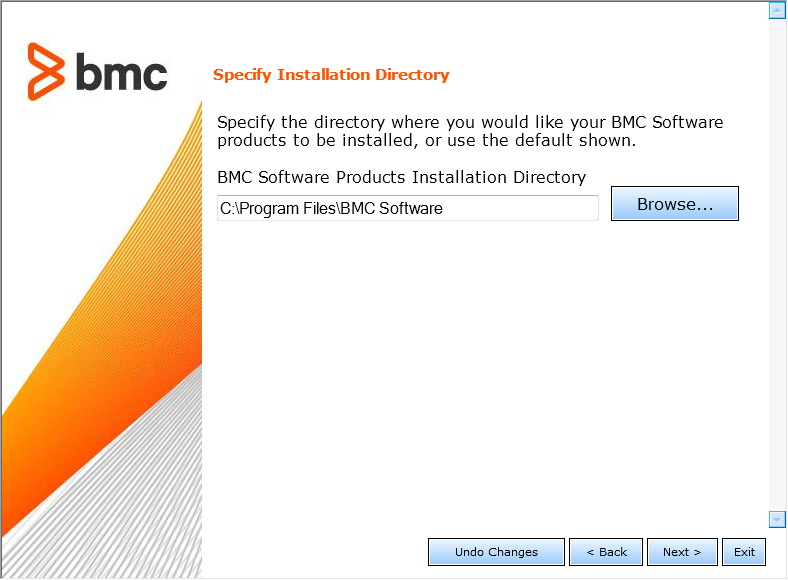
Specify the BMC Software Products installation directory. Click Next to continue
-
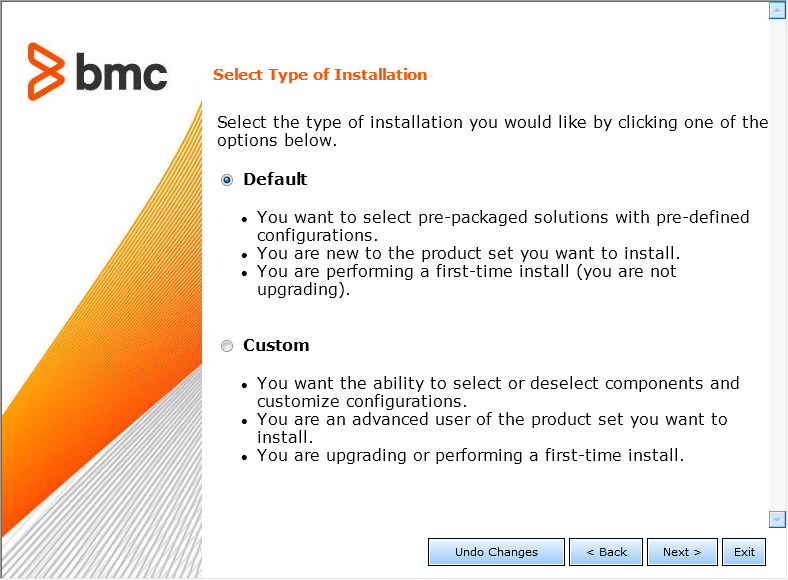
Installing Veritas NetBackup KM does not require any customization. Select Default and click Next to continue
-
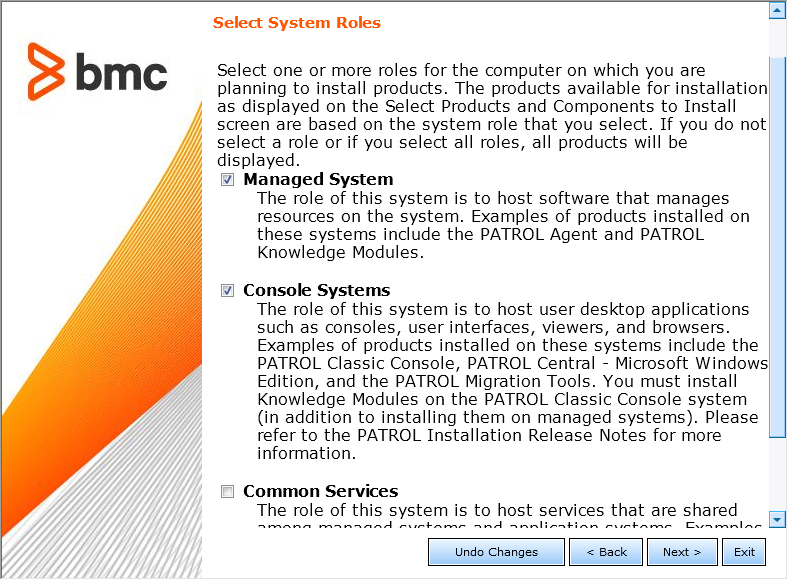
Select one or several of the following options:
- Managed System to install Veritas NetBackup KM on a PATROL Agent
- Console Systems to install Veritas NetBackup KM on a PATROL Classic Console
- Common services to install Veritas NetBackup KM on the Console Server or on PATROL Central Web Edition
-
Click Next to continue
-
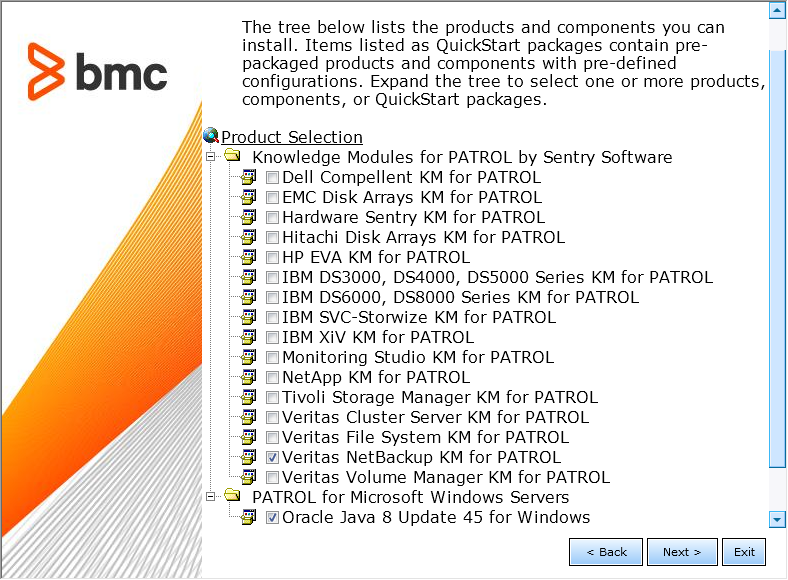
Install the KM:
- Check the Veritas NetBackup KM for PATROL box (it should be selected by default)
- Select the Java Runtime Environment program if you want to install it along with the KM (this option is only provided when you have previously downloaded and merged the package with the BMC Installation Utility)
- Click Next to continue
-
Review the installation parameters and click Start Install to launch the installation procedure

-
The setup program displays the actions performed and indicates the percentage of completion. Once the installation is complete, click Next to view the installation results

-
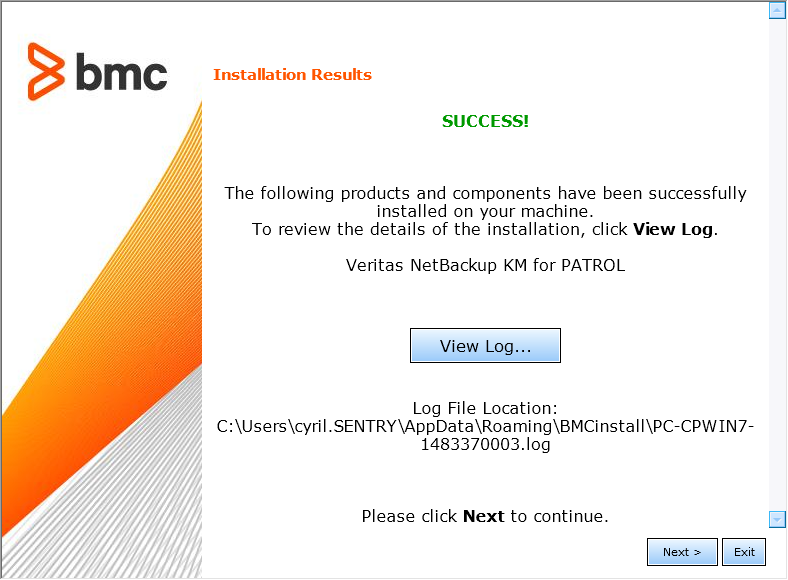
The wizard displays the installation results. Click View Log to display a detailed log of the installation procedure. Click Next and then Finish to exit the setup program
-
Click the Finish button to complete and close the installation wizard.


Loading Veritas NetBackup KM
To monitor your Veritas NetBackup environment within your PATROL Console, Veritas NetBackup KM must be loaded on the appropriate managed system. Loading a Knowledge Module in PATROL Central Operator both loads the Knowledge Module on the managed system and adds the name of the Knowledge Module to your management profile.
Before loading the Veritas NetBackup KM:
- Make sure you correctly installed the KM on the PATROL Console and the PATROL Agent systems
- Start the PATROL Console and update the connection to all PATROL Agent systems where the Veritas NetBackup KM is installed
- Check the value of the PATROL Agent tuning variable,
/AgentSetup/AgentTuning/pslInstructionMax, and if necessary, increase it.
On PATROL Classic
- In the Console menu bar, click File > Load KM
- In the Files of Type list, select KM Files
- Select Veritas NetBackup KM (NBU_LOAD.kml)
- Click Open.
The Veritas NetBackup KM will be loaded to the PATROL Console, and all connected PATROL Agents. The Veritas NetBackup container instance will be created. Any previous Veritas NetBackup KM configuration will be upgraded and their instances will be created.
If you want to save the new list of loaded files as the PATROL Console user preference:
- From the PATROL Console menu bar, choose File > Save Configuration
- Load the NBU_LOAD.kml file on each PATROL Console
- Configure the KM.
On PATROL Central
-
In the Common Tasks tab of the PATROL Central Operator Taskpad, click the Load Knowledge Modules icon
-
To start the wizard, click Next
-
Select the check boxes for the managed systems that you want to load Veritas NetBackup KM on. Click Next
-
Select the check box for Veritas NetBackup KM (NBU_LOAD.kml)
-
Click Finish
The Veritas NetBackup KM will be loaded to the PATROL Central Console Server, and all connected selected managed systems. The Veritas NetBackup container instance will be created. Any previous Veritas NetBackup KM configuration will be upgraded and their instances will be created.
Configuring the PATROL Agent to Preload the KM
If you want Veritas NetBackup KM to operate all the time, without a PATROL Console connection, you will have to add it to the PATROL Agent configuration variable /AgentSetup/preloadedKMs.
To configure the PATROL Agent to preload the KM:
- In the Console, right-click the Veritas NetBackup icon > Configuration > Preloading
- Click Add to add the KM files to the list of preloaded KMs.
The same menu is used to remove the KM files from the preloaded KMs list.
Unloading Veritas NetBackup KM
This section describes the procedures for unloading (not uninstalling) the Veritas NetBackup KM from the PATROL Agent, PATROL Console or PATROL Central Console. Read this section if you no longer want to use some parts of the KM; if you want to completely uninstall the KM, refer to the uninstall procedure.
When the KM is unloaded:
-
from a PATROL Agent: PATROL stops monitoring the Veritas NetBackup application on that system when there is no connection to a PATROL Console with Veritas NetBackup KM KM loaded
-
from a PATROL Console: the PATROL Console stops displaying and monitoring the Veritas NetBackup application on any PATROL Console connected system.
From the PATROL Agent
To unload the KM from the PATROL Agent:
- In the Console, right-click the Veritas NetBackup icon and select KM Commands > Configuration > Preloading…
- Click Remove
- Restart the PATROL Agent
- Repeat these steps on every PATROL Agent system (managed node) where the Veritas NetBackup KM is to be unloaded.
The KM cannot be partially unloaded from the PATROL Agent using the above steps. If you need to unload some parts of the KM from the PATROL Agent, set their instance limits to 0 (zero).
From the PATROL Console
Application classes are unloaded individually. This allows for partial unloading of the KM to enable it to run as a reduced installation.
To unload the Veritas NetBackup KM completely or partially:
-
Remove the unwanted application classes that start with NBU_ in the list of loaded application classes as described below:
With the PATROL Console for Unix:
- From the PATROL Console main window, select Attributes> Application Classes…
- Select a Veritas NetBackup KM application class to be removed and select Edit > Delete
- Repeat for all classes to be removed
With the PATROL Console for Windows:
- From the PATROL Console tree view, choose the KM tab and expand the folder Application Classes
- Right-click on a Veritas NetBackup KM application class to be removed and select Delete
- Repeat for all classes to be removed
-
Select File > Save Configuration to save the modified list of loaded application classes as the PATROL Console user preference
-
Repeat these steps on every PATROL Console system where the Veritas NetBackup KM is to be unloaded.
From the PATROL Central Console
A KM can be unloaded from particular managed systems or for all systems across the monitored environment. Application classes may be unloaded individually or by selecting all classes at once. This allows for a partial unloading of the KM to enable it to run as a reduced installation on some or all of the managed systems.
To completely or partially unload the Veritas NetBackup KM from some or all of the managed systems:
-
Right-click the PATROL Main Map and choose Unload Knowledge Modules…
-
Select the managed systems where the Veritas NetBackup KM is to be unloaded and click Next>
-
Select the application classes to be removed that starts with NBU_ for the appropriate managed systems, click Next> and Finish
-
Repeat the above steps for each PATROL Central Management Profile where the Veritas NetBackup KM is to be unloaded.
Uninstalling Veritas NetBackup KM
To uninstall Veritas NetBackup KM:
-
Go to
BMC_ROOT/Uninstall -
Launch the
uninstall.exeprogram (Windows) or theuninstall.shscript (UNIX) -
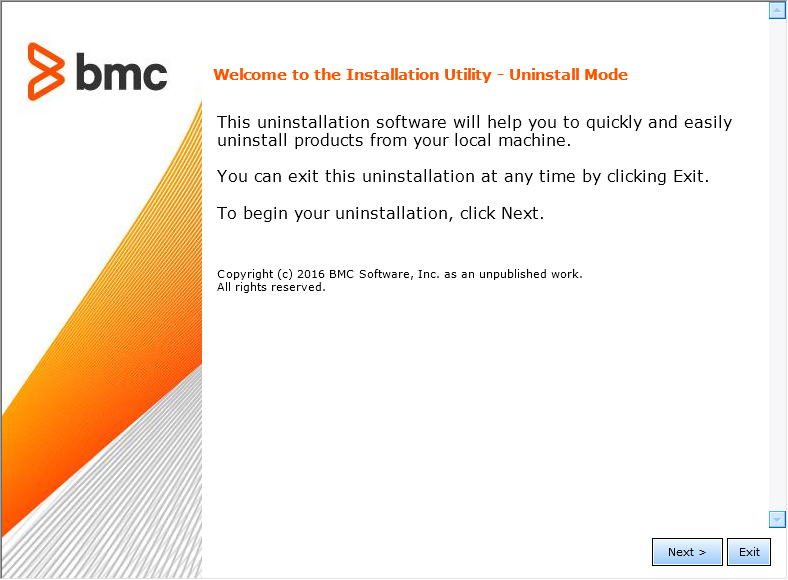
The welcome screen appears. Click Next to continue
-
Specify the BMC Software Products folder

-
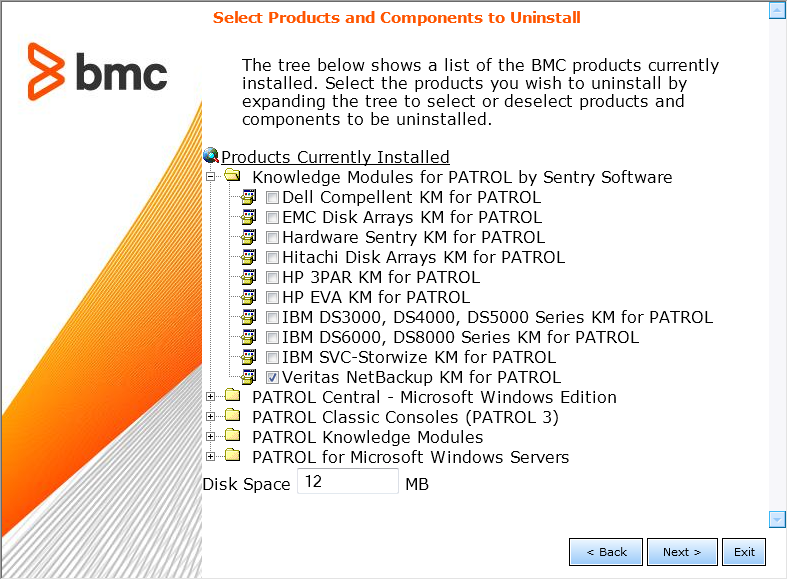
To uninstall the KM, select Veritas NetBackup KM
-
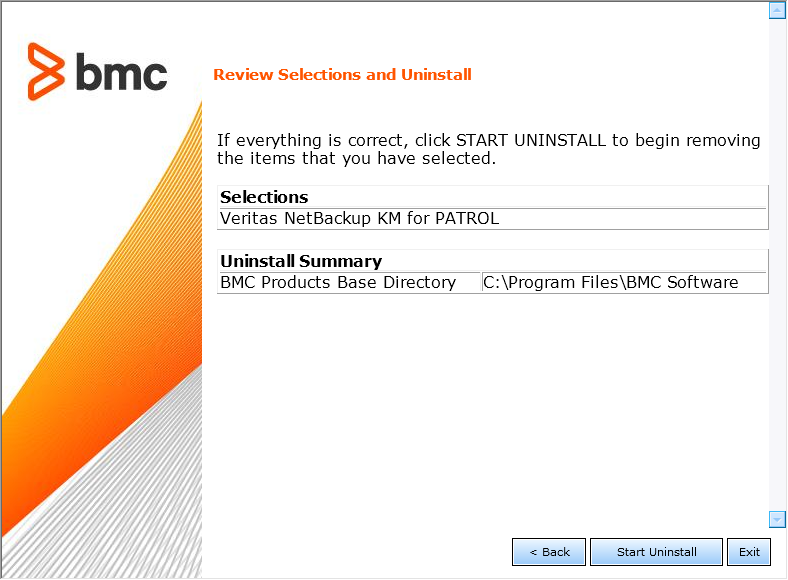
Click Start Uninstall to run the uninstall program
-
A page displays the list of products/components processed and the percentage of completion. Click Next to continue
-
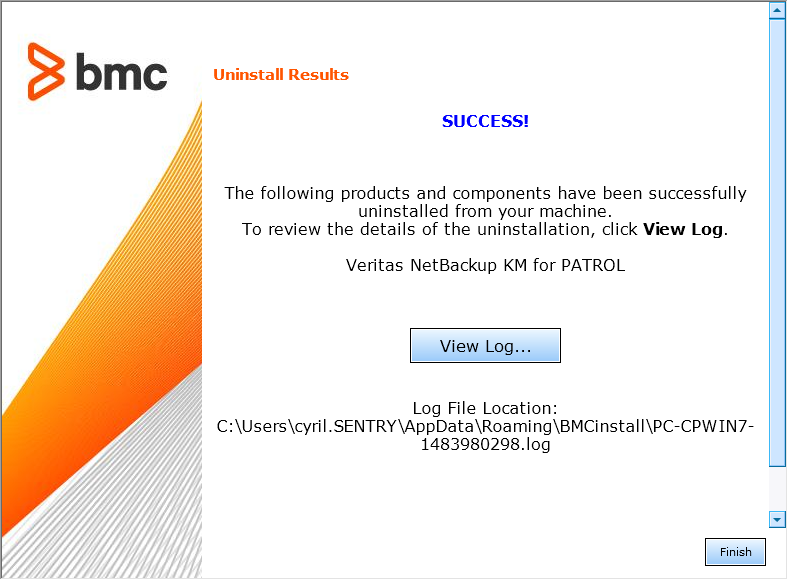
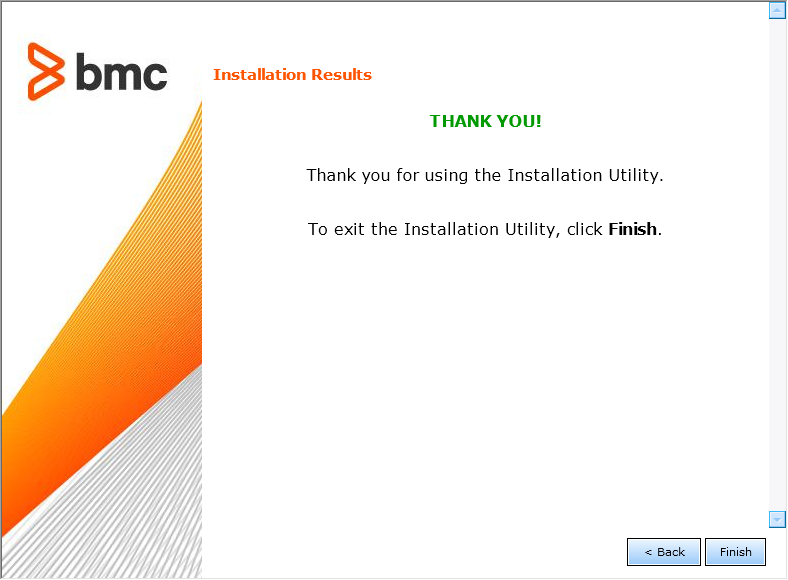
A page displaying SUCCESS indicates that Veritas NetBackup KM is now uninstalled.