Configuring HP 3PAR KM for PATROL
To be able to use HP 3PAR KM for PATROL, you will have to:
- Configure a connection to the HP 3PAR embedded SMI-S provider
- Specify the Java Runtime Environment (JRE) to be used by the KM
- Specify the alert action(s) to be executed when a failure is detected
- (Optional) Customize the discovery interval
- (Optional) Customize the polling interval
- (Optional) Configure the Unknown status
- (Optional) Modify the mechanism by which the KM sets thresholds for all parameters of the monitored components.
Configuring a Connection to the HP 3PAR embedded SMI-S provider
Before performing this first configuration step, it is recommended to test the connection to the HP 3PAR embedded SMI-S provider by using the troubleshooting tool provided by Sentry Software. Refer to the Troubleshooting section for more information.
To configure the connection to the HP 3PAR embedded SMI-S provider:
- Right-click the KM Main Icon > KM Commands > Add a Connection to an HP 3PAR Storage System….
- Define the HP 3PAR storage system information:
- Enter the server host name
- Enter the IP address or the fully qualified name.
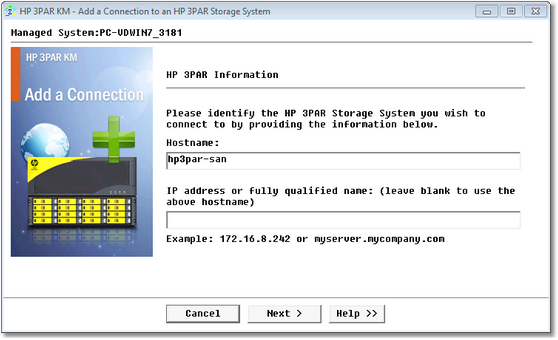
-
Click Next.
- Define the WBEM Credentials:
- Enter the Port number that will be used for the connection to the HP 3PAR storage system.
- Check the Encrypt data using HTTPS protocol option to turn on the encryption when performing WBEM queries, if necessary.
- Enter the Login and Password that will be used for the connection to the HP 3PAR storage system. When the login and password are left blank the default PATROL credentials will automatically be used for the connection.
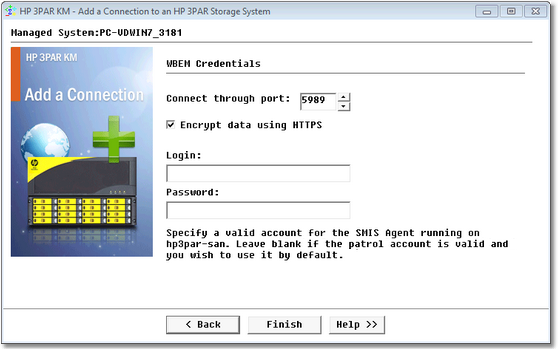
-
Click Finish to save your settings.
To edit the connection settings, right-click the storage system icon > KM Commands > Edit Connection Settings, make the required changes, and click Finish to save your changes.
Configuring Java Settings
The Java Settings wizard enables you to define which Java Runtime Environment (JRE) you wish HP 3PAR KM for PATROL to use. You can either use the automatic detection, select a pre-detected java path or enter manually the path leading to the Java executable directory.
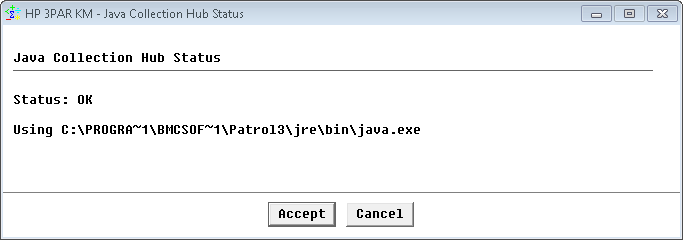
By default, the product tries to locate a compatible Java Runtime Environment (JRE) on the system where the PATROL Agent runs, and uses it to run the Java Collection Hub, a core piece of the product that allows performing operations that would not normally be possible on a PATROL Agent (SSH, SSL, SNMPv3, etc.).
HP 3PAR KM for PATROL requires Java 1.8 or higher. As a result, the product will not start if a compatible Java Runtime Environment is not found.
To access the Java Settings wizard:
-
Right-click the KM main icon > KM commands > KM Settings > Java Settings…
-
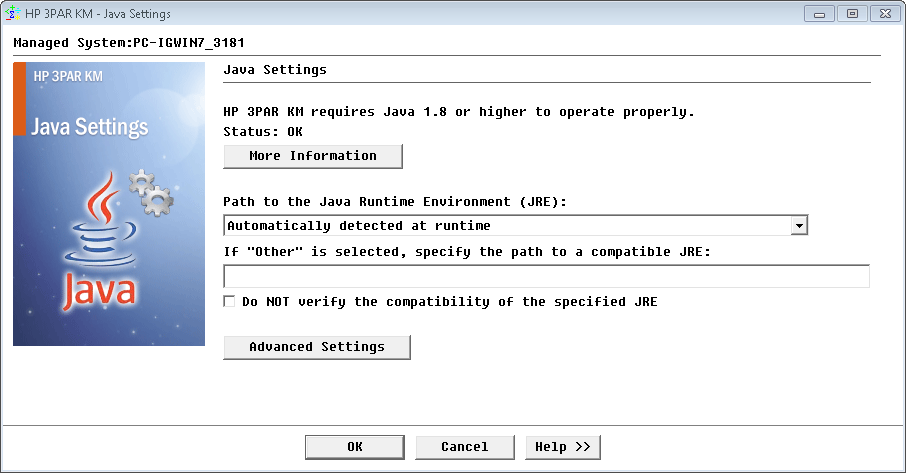
(Optional) Click the More Information button to display the status of the JRE compatibility check and the JRE path currently used by HP 3PAR KM for PATROL.
-
Use the Path to Java Runtime Environment (JRE) field to specify the path of the JRE you want HP 3PAR KM for PATROL to use:
- Automatically detected at runtime: The KM will automatically search and use a compatible JRE at the initial discovery that occurs when the PATROL Agent and the KM are started.
- List of detected JREs: The KM displays a list of the JREs available on your system. Select the JRE you wish to use.
- Other: Select this option if you wish to manually enter the Java executable directory path in the field provided below.
- (Optional) If you have selected the Other option, you can select the Do NOT verify the compatibility of the specified JRE option to prevent HP 3PAR KM for PATROL from verifying the compatibility of the specified JRE. Use this option only if you know that the provided JRE is compatible even if the compatibility check fails.
-
(Optional) Configure the Advanced Settings:
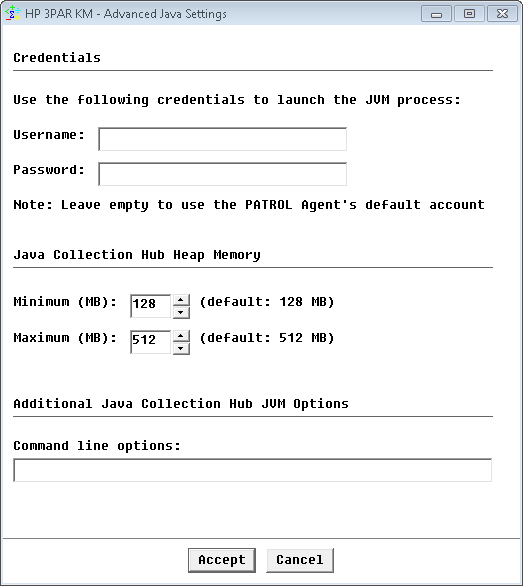
- Credentials: Provide the specific credentials that HP 3PAR KM for PATROL will use to start the Java Virtual Machine (JVM). By default, the java process is launched with the same credentials as the PATROL Agent. You can provide specific settings if the PATROL Agent’s default account does not have sufficient privileges to perform the operations required by the Java Collection Hub.
- Java Collection Hub Heap Memory: Set the minimum and maximum size (in MB) of the Java Hub Heap Memory according to your environment requirements (Default minimum Java heap size = 128 MB and default maximum Java heap size = 512 MB).
- Additional Java Collection Hub JVM Options: Enter arbitrary arguments to the java -jar … command line that HP 3PAR KM for PATROL uses to launch the Java Collection Hub in the Command line options field. This can be particularly useful for debugging (For example, enter Xdebug -Xrunjdwp:transport=dt_socket,address=4711,server=y,suspend=n to launch the KM in debug on a specific port).
- Click Accept to save your settings. HP 3PAR KM for PATROL will automatically verify the relevance of the new settings and will warn you if a problem is detected. Changing the settings requires for HP 3PAR KM for PATROL to stop the Java Collection Hub for about 10 seconds and then to restart the Java Collection Hub. In the meantime, operations that leverage the Java Collection Hub will fail and HP 3PAR KM for PATROL will report an error in the corresponding Annotation point of the PATROL graph.
-
Click Finish to save your changes.
Configuring Alert Actions
Alert Actions enable the PATROL administrator to choose specific actions to be executed when a failure is detected. With Alert Actions, it is possible to either:
- Customize the way a problem notification is performed, or
- Specify a recovery action to be run when a problem occurs.
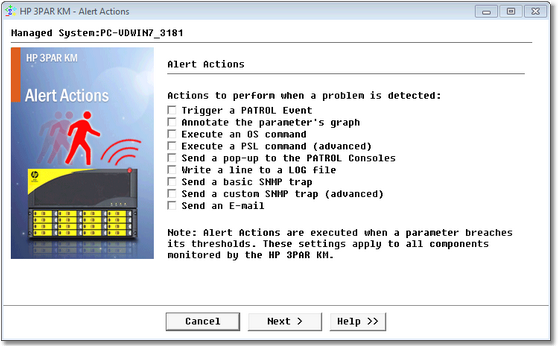
HP 3PAR KM for PATROL can be configured to run one, several, or all types of Alert Actions when an alert is triggered regarding the monitored device.
By default, upon a failure, the KM triggers a PATROL event and annotates the parameter’s graph with a clear report of the problem, giving details about the failure, the possible consequences and the recommended action to solve the problem.
To modify the alert actions triggered upon a failure:
-
Right-click the KM main icon > KM Commands > KM Settings > Alert Actions…
-
Select the actions to be triggered.
- If you selected:
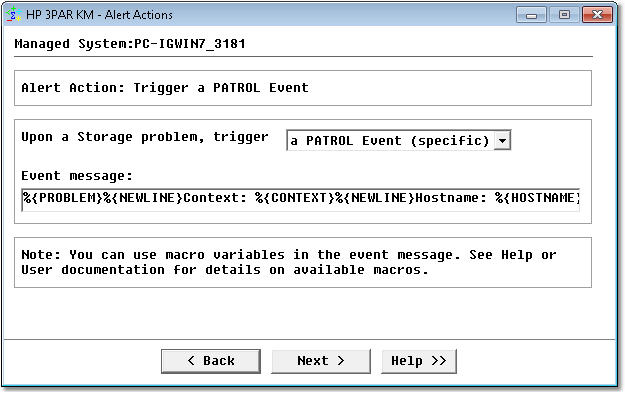
- Trigger a PATROL event:
- Select the type of PATROL event you wish to trigger when a problem occurs: A STD 41 PATROL Event, A Specific PATROL Event, or No Event. These events are generated every time a threshold is exceeded. They contain a full Storage Health Report detailing the fault that has occurred. They can be viewed from: Standard PATROL Consoles (Classic Console, PATROL Central), PATROL Enterprise Manager, BMC Impact Manager, or any other third-party product that interfaces with PATROL.
- If needed, modify the event message. You can use alert action macros that will be replaced at runtime.
- Click Next.
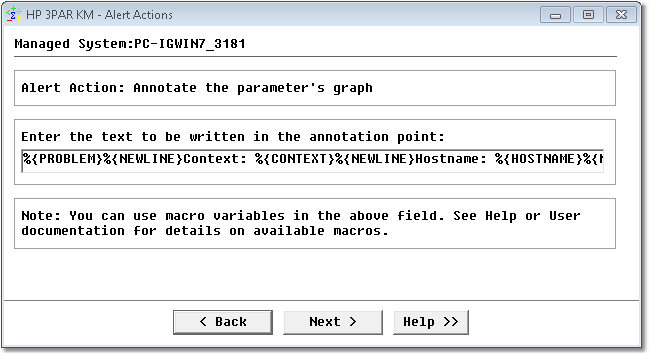
- Annotate the parameter’s graph:
- Modify the string that will be displayed within the annotation point, if required. You can use alert action macros that will be replaced at runtime.
- Click Next.
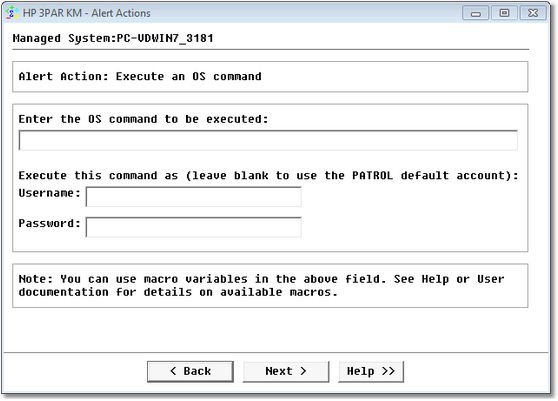
- Execute an OS command:
- Enter a command line to be executed. The command:
- can be a program utility or a script shell, and can have arguments
- can contain alert action macros that will be replaced at runtime
- must be non-interactive (no window, no user input).
- Enter the username and password used to run the command.
- Click Next.
- Enter a command line to be executed. The command:
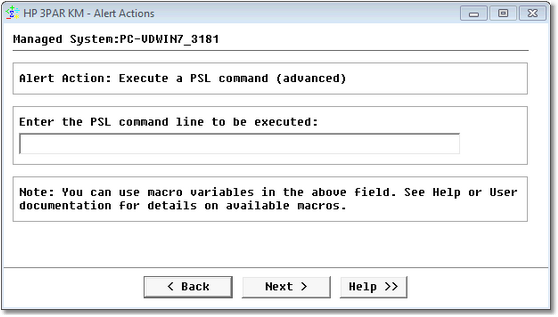
- Execute a PSL command (for PATROL advanced users only):
- Enter the PSL statement to be executed by the PATROL Agent. Although only a single line is permitted, it can have several PSL instructions and contain alert action macros that will be replaced at runtime.
- Click Next.
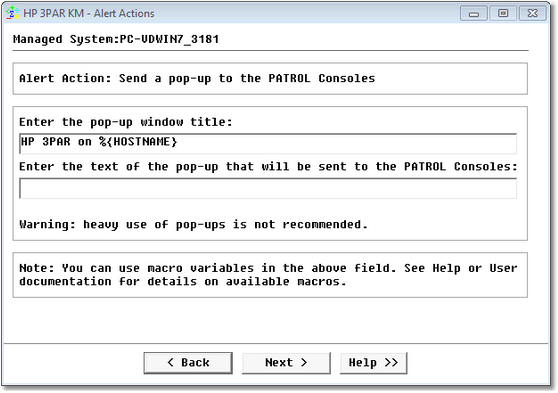
- Send a pop-up to the PATROL Consoles:
- Enter the message that will be displayed in the pop-up as well as in the title of the pop-up window. You can use alert action macros that will be replaced at runtime.
- Click Next.
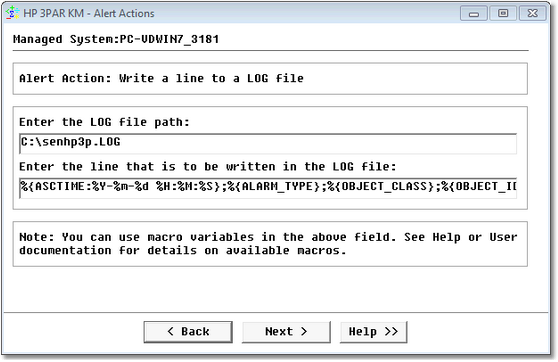
- Write a line to a log file:
- Enter the LOG file path.
- Enter the content of the line. You can use alert action macros that will be replaced at runtime.
- Click Next.
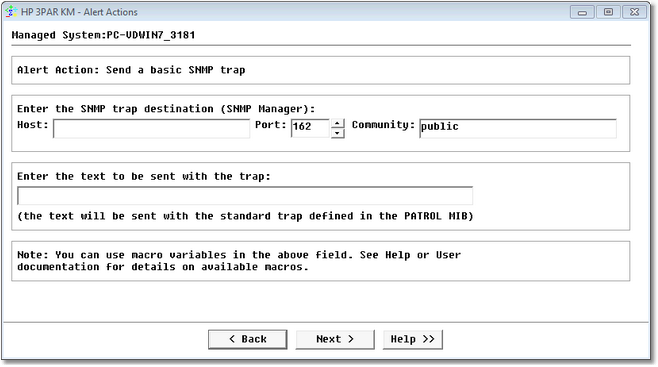
- Send a basic SNMP trap:
- Enter the IP address or Hostname of the SNMP trap destination.
- Enter the SNMP port and community string.
- Enter the text that will be sent in the SNMP trap.
- Click Next. Upon a failure, HP 3PAR KM for PATROL will send the trap that is defined in the PATROL MIB (Trap number 11, Enterprise ID: 1.3.6.1.4.1.1031.1.1.2, the text is stored in the 1.3.6.1.4.1.1031.1.1.2.1 OID). Refer to the alert action macros section to obtain the list of available macros.
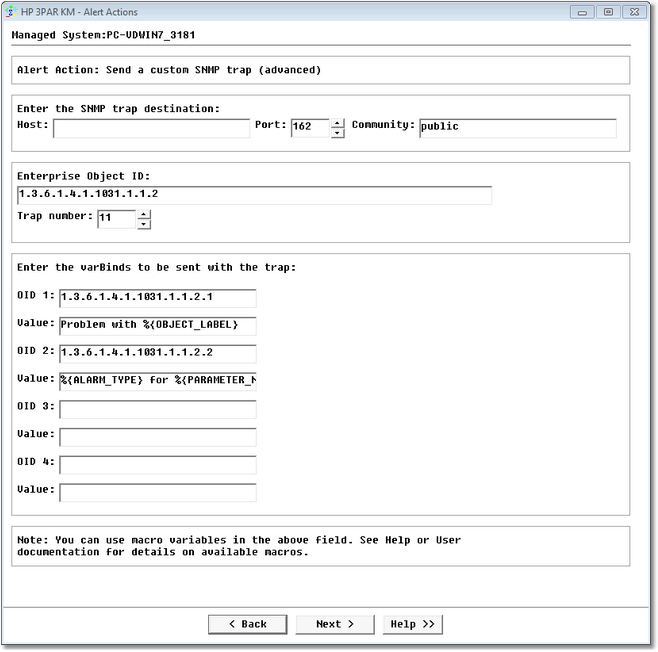
- Send a custom SNMP trap (advanced):
- Enter the IP address or Hostname of the SNMP trap destination.
- Enter the SNMP port and community string.
- Enter all the characteristics of the trap: Enterprise ID, trap number and up to 4 varbinds. You can use alert action macros that will be replaced at runtime.
- Click Next.
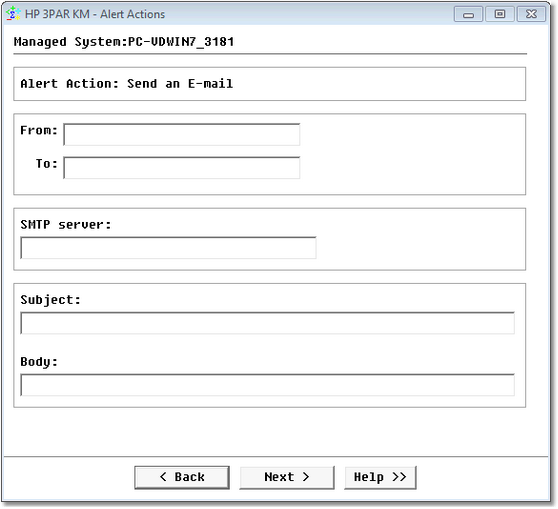
- Send an e-mail:
- Enter the sender and the recipient email addresses in respectively the From and To fields.
- Type the SMTP server name.
- Enter the email Subject and type the Body of the message you wish to send.
- Trigger a PATROL event:
-
Click Finish.
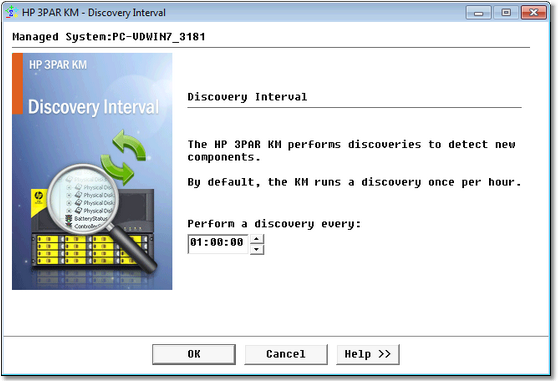
Customizing the Discovery Interval
HP 3PAR KM for PATROL periodically performs discoveries to detect new components in your monitored environment. By default, the KM runs a discovery every hour, but you can customize this interval by right-clicking the HP 3PAR storage system icon > KM Commands > Discovery Interval…
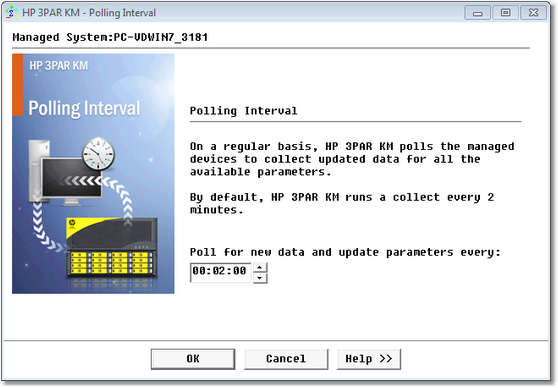
Customizing the Polling Interval
A polling interval defines how often new data is collected. A new collect can be performed from once every second, to once in a day. HP 3PAR KM for PATROL polls the managed systems to collect performance and statistics data. By default, the polling interval for this “data-collect” is set to 2 minutes.
The more the polling interval is low, the more the collection process is time consuming.
To change the polling interval for the managed system, right-click the HP 3PAR storage system icon > KM Commands > Polling Interval…
In addition to the polling interval that is a global setting, i.e. it is applicable to the whole managed system, you can also manually trigger a poll at any time on individual instances to refresh parameter values. Right-click the instance icon > KM Commands> Refresh Parameters.
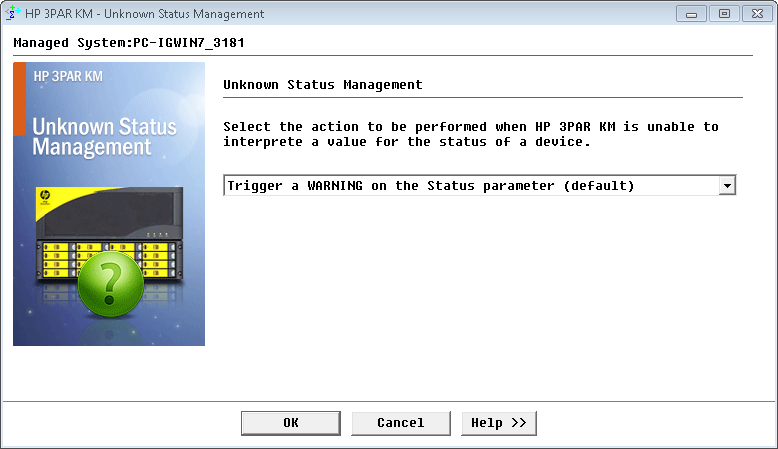
Configuring the Unknown Status
At times, although rare, HP 3PAR KM for PATROL is unable to detect the status of a monitored device, and returns the poll with Unknown Status.
When this situation occurs, you can configure the KM to perform certain actions:
- Trigger a WARNING on the Status parameter (default)
- Set the Status parameter to OK
- Trigger an ALARM on the Status parameter
To access this feature, right-click the KM main icon > KM Commands > KM Settings > Additional Settings > Unknown Status Management:
Managing Thresholds
Managing thresholds means selecting/modifying the mechanism by which HP 3PAR KM for PATROL sets thresholds for all parameters of the monitored components. By default, HP 3PAR KM for PATROL automatically sets alert thresholds on the monitored parameters.
To modify the threshold mechanism:
-
Right-click the KM main icon > KM Commands > KM Settings > Additional Settings > Threshold Mechanism Selection…
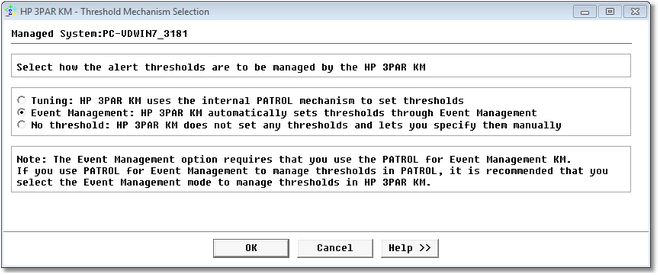
- Tuning: If selected, the KM will manage its thresholds through the standard internal PATROL mechanism (Override parameters). Thresholds are stored in the PATROL Agent configuration under the /___tuning___ tree.
- Event Management: If this option is selected, the KM will manage its thresholds through the Event Management mechanism. Thresholds are stored in the PATROL Agent configuration under the /AS tree. This option requires that you set up the PATROL for Event Management KM on your PATROL Agent. PATROL for Event Management has to be enabled and preloaded. If you use PATROL for Event Management to manage thresholds in PATROL, it is strongly recommended that you use this option in HP 3PAR KM for PATROL too.
- No Thresholds: The KM will not set any threshold on the monitored objects. You are required to set them manually.
In order to avoid side effects and unpredictable behavior, if you change the threshold mechanism (from “Event Management” to “Tuning” or the other way around), the KM will automatically recreate the default thresholds settings using the new threshold mechanism. Manually customized thresholds however are not automatically migrated.
-
Click OK.
hp3par km patrol